


How to Operate an Extrusion Blow Moulding Machine: A Simple Guide
Walking up to an extrusion blow moulding machine for the first time can feel intimidating. There are a lot of buttons and moving parts. But once you break down the blow moulding process, it’s logical.
I’m Slany Cheuang, and I’m a technical sales manager at Lekamachine11. I’ve seen many new operators get the hang of these machines. This guide isn’t a substitute for your official machine manual or certified hands-on training, but it will give you a clear, straightforward overview of the basic steps.
For many companies, especially new investors who are sometimes short on technical staff, getting good training is a top priority. Think of this as your starting point.
Who This Guide Is For:
- New machine operators and trainees.
- Plant managers need to understand the process.
- Business owners are considering an investment in an EBM machine.
- Students in technical or engineering programs.
Safety First: Before You Press a Single Button
-

- Safety First Before You Press a Single Button to Operate an Extrusion Blow Moulding Machine
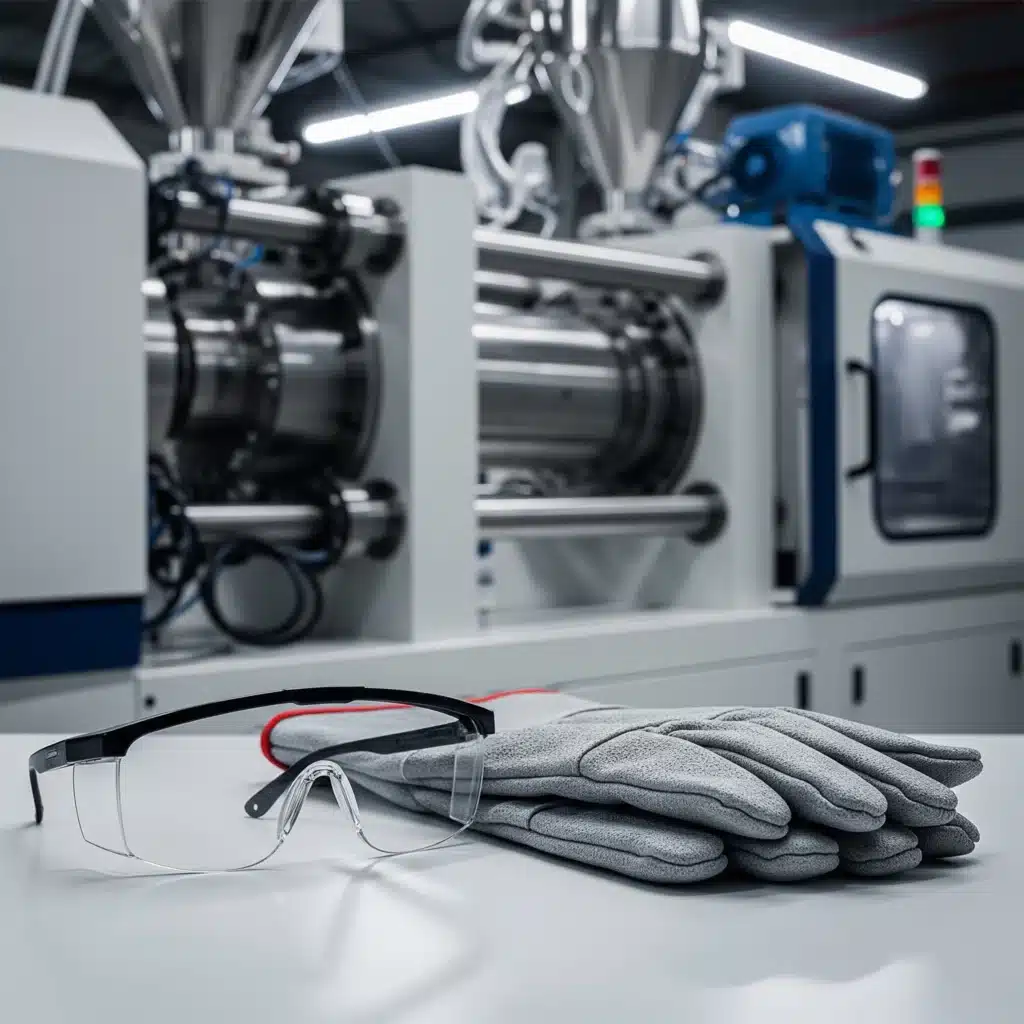
You should never operate any industrial equipment without a safety check. It only takes a minute and can prevent serious problems.
Here’s what you should always do:
- Check the Guards: Make sure all safety doors and guards are in place and working correctly.
- Locate Emergency Stops: Know where every single emergency stop button is.
- Wear Your PPE: This means safety glasses, and potentially heat-resistant gloves, depending on the task.
- Clear the Area: Ensure the space around the machine is clean and free of clutter or spills.
Your 7-Step Guide to the Extrusion Blow Moulding Process
Every machine is a little different, but they all follow these same core principles. Let’s walk through it.
Step 1: Power On and Preheat the Machine
First, turn on the main power. The extruder barrel and the die head need to heat up to the proper temperature to melt the plastic resin. This process takes some time, so be patient. It’s important to get this step right. With rising energy prices, many companies are looking for machines that are more efficient and can operate at lower melt temperatures.
Step 2: Load the Plastic Resin into the Hopper
Once the machine has reached the correct temperature, it’s time to load your raw material into the hopper. This typically consists of plastic pellets, such as HDPE (High-Density Polyethene), which are used for a variety of products, including milk jugs and chemical drums. Additionally, some companies are now incorporating higher levels of post-consumer resin (PCR) or bioplastics like HDPE-BIO to achieve their sustainability goals.

Load the Plastic Resin into the Hopper with Extrusion blow moulding machine
Step 3: Start the Extruder to Melt and Mix
Now, you’ll start the extruder. A large screw inside the barrel turns and pulls the plastic pellets forward. The combination of heat from the barrel and friction from the screw’s movement melts the plastic and mixes it into a consistent, dough-like substance. For businesses using recycled materials, getting a good, even melt (what we call melt-homogeneity) is critical for quality6.
Step 4: Create and Control the Parison
The melted plastic is then pushed through a die to form a hollow tube of hot plastic. This tube is called a parison. Think of it like a plastic straw hanging down from the machine. Controlling the wall thickness of this parison is one of the most important skills in blow moulding.

Create and Control the Parison of Extrusion blow moulding machine
Step 5: Moulding and Blowing the Final Shape
The parison hangs between two halves of an open mould. The mould then closes, pinching the top and bottom of the parison. A pin is inserted, usually at the top, and blows compressed air into the parison, just like blowing up a balloon. The air pressure pushes the soft plastic against the cold cavity walls of the mould, which gives the product its final shape.
Step 6: Cooling, Ejection, and Cycle Time
The plastic needs to cool and solidify inside the mould for a few seconds. How long this takes is a huge factor in your production speed, or “cycle time.” Faster cycle times mean more products per hour. Once it’s solid, the mould opens, and the finished part is ejected.
Step 7: Finishing Touches and Quality Control
The part isn’t quite done yet. It will have extra plastic, called “flash,” where the mould pinched it shut. This needs to be removed. Some fully automatic blow moulding machines do this for you. After that, every part should be inspected for quality, checking for things like holes, spots of contamination, or uneven colour.
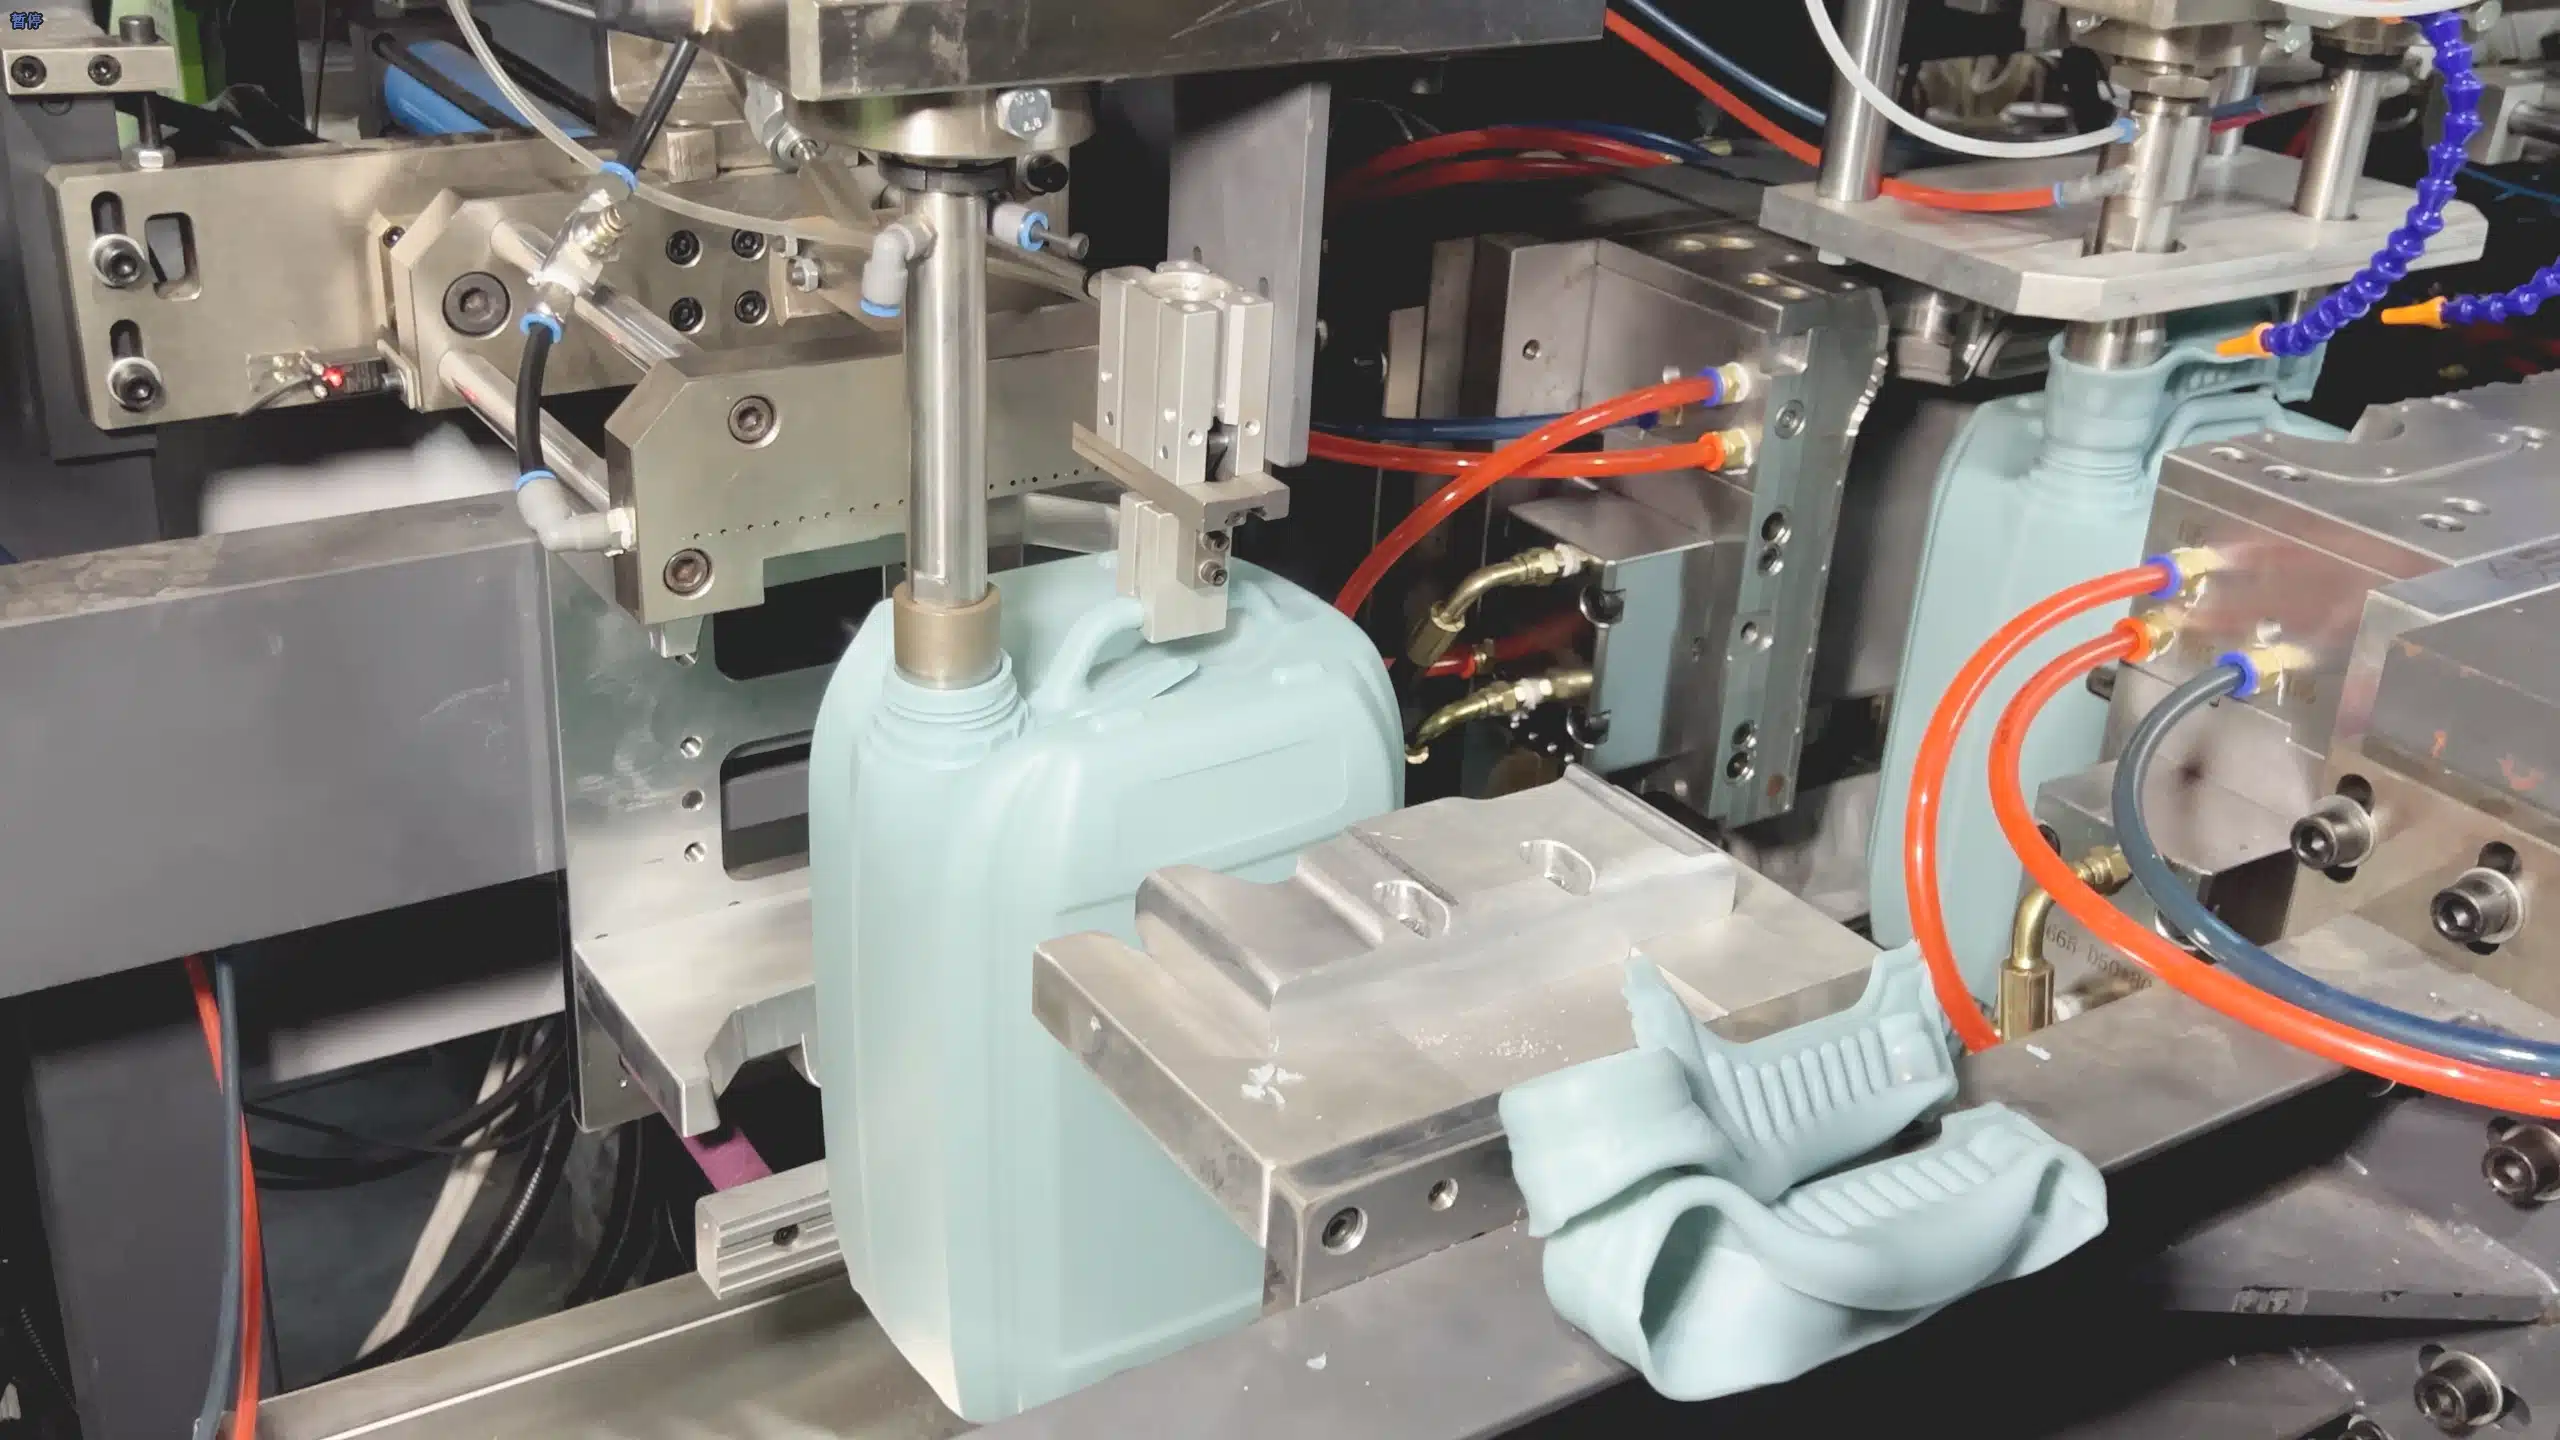
Moulding and Blowing the Final Shape of blow moulding machine
Troubleshooting Common Extrusion blow moulding machine Problems
Even with a perfect process, you’ll run into issues. Here are a few common ones I see.

Troubleshooting Common EBM Machine Problems of blow machine
Solving Uneven Wall Thickness with Parison Control
A major pain point for manufacturers of industrial containers is when the parison sags under its weight, causing thin spots. This can lead to products failing critical tests, like the UN drop test for chemical drums. The solution lies in advanced parison programming, which adjusts the thickness of the plastic tube as it’s being extruded to ensure a strong, even final product.
Reducing Downtime During Quick Mould Changeovers
If you’re a contract packager running lots of different products (multiple SKUs), downtime during changeovers is a huge problem10101010. You lose time and money every minute the machine isn’t running. Machines designed with quick mould change systems and recipe traceability are invaluable for this kind of “job-shop” environment 11.
Preventing Contamination When Using Recycled Resins (PCR)
Using a high percentage of recycled material is great for sustainability, but it comes with challenges. You can get inconsistent colour, odour, or specks of contamination called gels in your final product 12. To solve this, you need a machine with an extrusion system designed for recycled material, along with inline vision inspection systems that can automatically spot and reject a bad part13.
Good Training Makes All the Difference
This guide covers the basics, but nothing beats hands-on experience.
I often work with new investors, particularly in emerging markets, who are setting up their first blow-moulding lines14. They often have limited technical staff and need more than just a machine delivered to their door15. They need a turnkey package: the machine, moulds, utilities, and most importantly, hands-on commissioning and operator training16. A good supplier provides this support to make sure your team can run the equipment efficiently and safely from day one.
FAQ:Frequently Asked Questions about Operating Blow Moulding Machines
Q: What is the main difference between extrusion and stretch blow moulding?
A: Think of it this way: extrusion blow moulding (EBM) is better for containers that have a handle, like jerry cans or detergent bottles17. Stretch blow moulding is typically used for products like PET water bottles, where clarity and pressure resistance are key 18. The “stretch” part of the process gives the plastic bottle extra strength.
Q: How long does it take to receive a new machine after ordering?
A: This can vary a lot. Lead times for some European machines can be more than 10 months19. As a Chinese supplier, we can typically deliver much faster. At Lekamachine, our standard delivery time is between 60 to 90 days2020.
Q: What types of products are made with Extrusion blow moulding machines?
A: The range is huge. It includes small items like 30 ml pharmaceutical bottles, household liquid containers, and shampoo bottles. It also includes mid-size products like 20 L HDPE jerry-cans for lubricants23. And on the heavy-duty side, it includes massive products like 1,000 L IBC inner bottles, chemical drums, and automotive parts like fuel tanks and air ducts
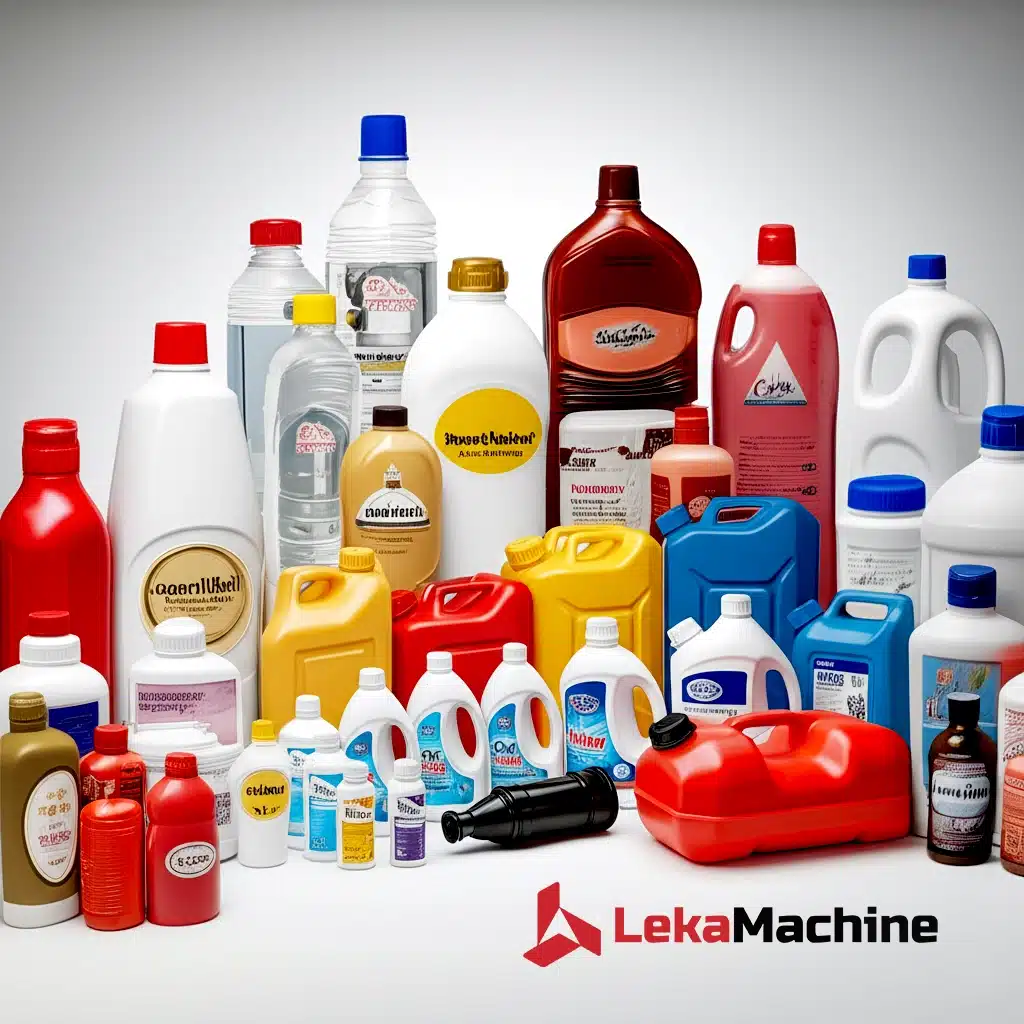
types of products are made with Extrusion blow moulding machines
Q: Can I use recycled plastic in my machine?
A: Absolutely. Many modern machines are specifically designed to process high percentages of post-consumer resin (PCR) and bioplastics25. Companies focused on sustainability look for machines with features like special screw profiles and degassing to handle these materials effectively.
Conclusion
Operating an extrusion blow moulding machine becomes second nature with practice. Always start with safety, follow the operational steps carefully, and learn how to spot and solve common problems.
Remember that quality training is one of the best investments you can make. A well-trained operator is more efficient and produces better quality parts. If you have more questions or are looking for a reliable EBM machine supplier that provides comprehensive training and support, feel free to visit us at
www.lekamachine.com. My job is to help you get up and running smoothly.


0 Comments