
Blow Mold Change SOP for EBM & SBM: Reduce Changeover Time and Clamping Errors
Unstable mold changeovers cause two direct losses on a factory line: long downtime and repeat adjustment after restart. This SOP is built to control both by standardizing sequence, checks, and handover.
This page is a focused operating procedure for mold replacement on EBM and SBM lines. It is not a general machine overview, and it does not cover injection blow molding.
For broader equipment selection context, refer to this extrusion blow molding machine guide.
Scope and Target Outcome
- Build one repeatable blow mold change SOP for production, process, and maintenance teams.
- Reduce setup variation that causes clamping error, flash, neck leak, and unstable first articles.
- Shorten time from machine stop to first approved bottle.
Roles, Safety, and Readiness Before Shutdown
Mandatory controls
- Apply LOTO for electrical, air, hydraulic, and heat sources.
- Bleed residual pressure and verify zero-energy state at work points.
- Use two-person confirmation for lockout and lifting tasks.
- Use suitable PPE for hot surfaces and sharp edges.

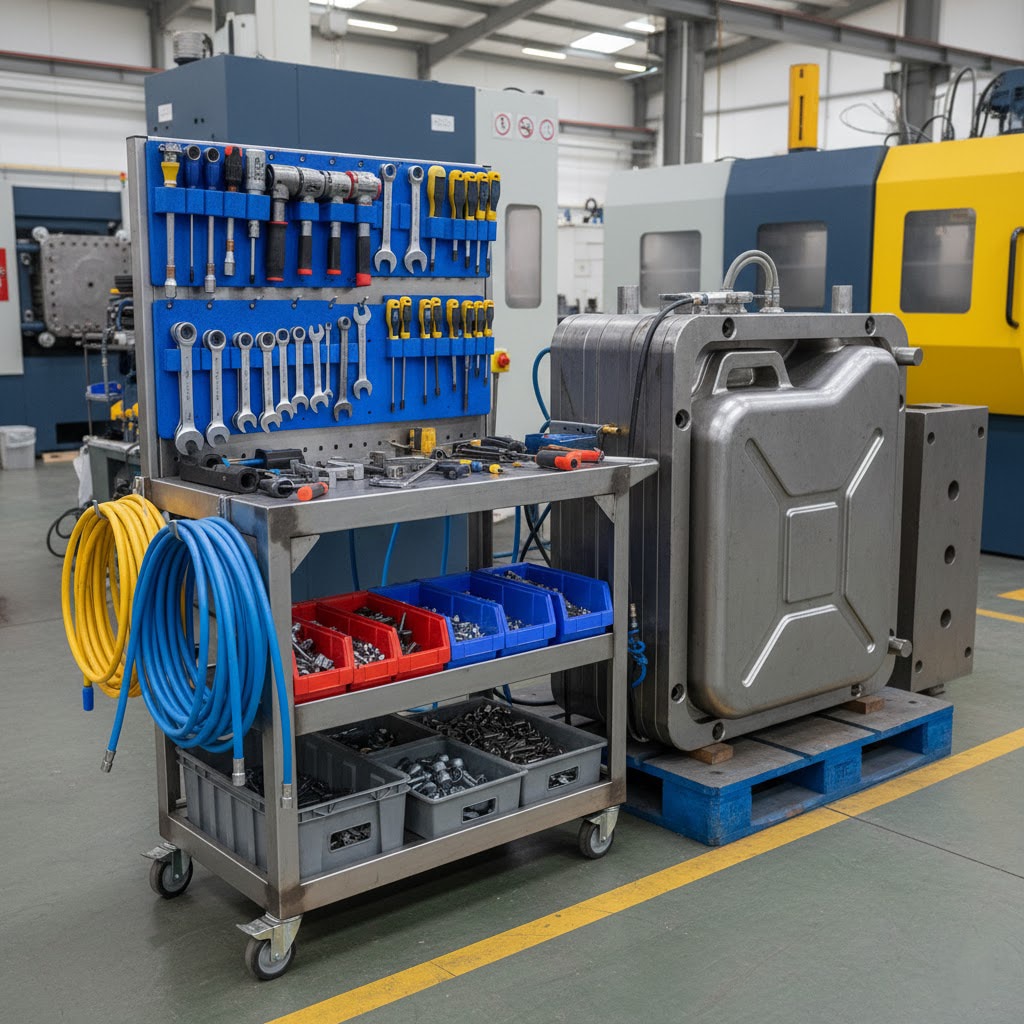
Readiness checklist before machine stop
- Incoming mold staged on cart; ports protected.
- Torque tools and tightening sequence ready.
- Utility lines labeled and leak kit available.
- First-article release sheet prepared.
- Roles assigned: caller, lifting operator, utility reconnection, recorder.
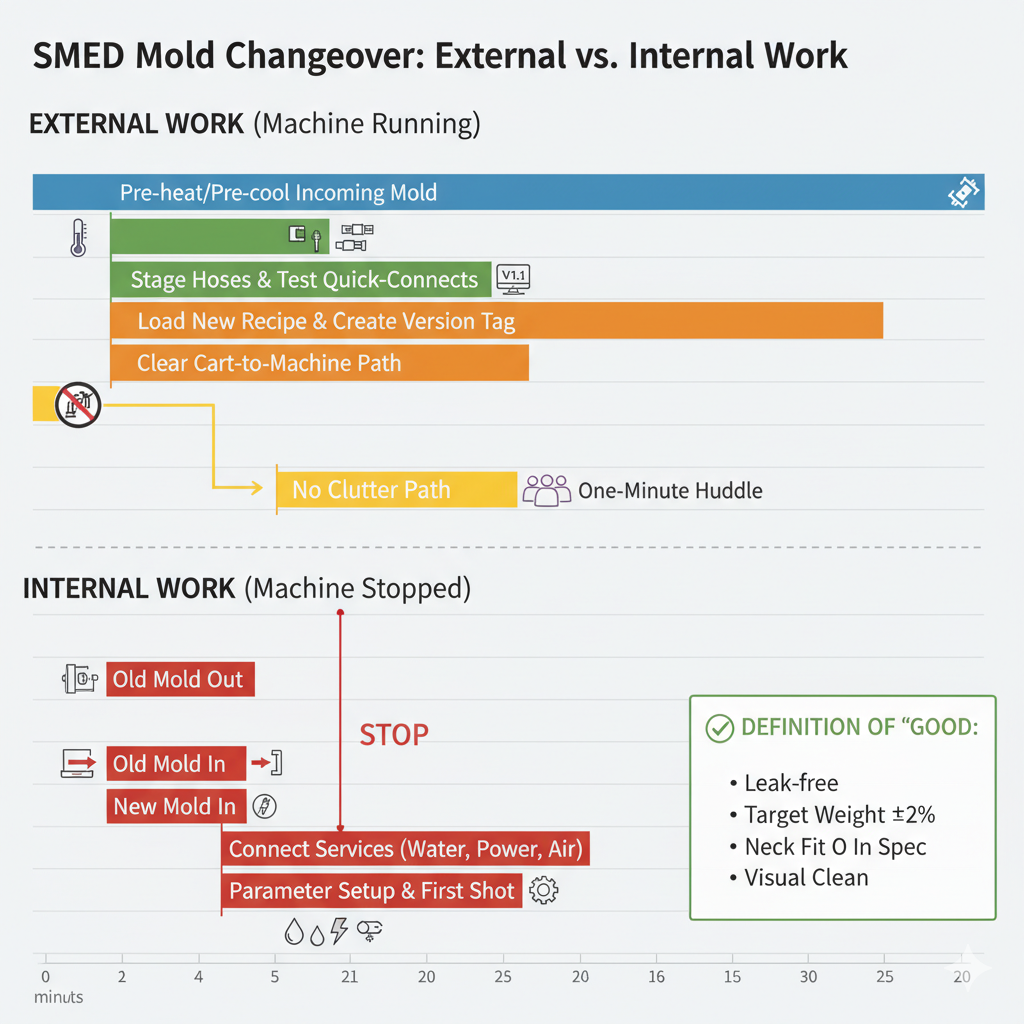
Pre-Change Planning (SMED Logic)
Move as much work as possible to external time before shutdown: staging, tool setup, line clearance, and recipe preparation. Keep internal time only for tasks that require machine stop.
Standard Blow Mold Change SOP (EBM & SBM)
-
Stop and stabilize machine state.
Purge or finish current cycle safely, move axes to safe positions, then execute lockout.
-
Disconnect utilities in fixed order.
Close supply, drain safely, disconnect by connector body, cap both ends immediately.
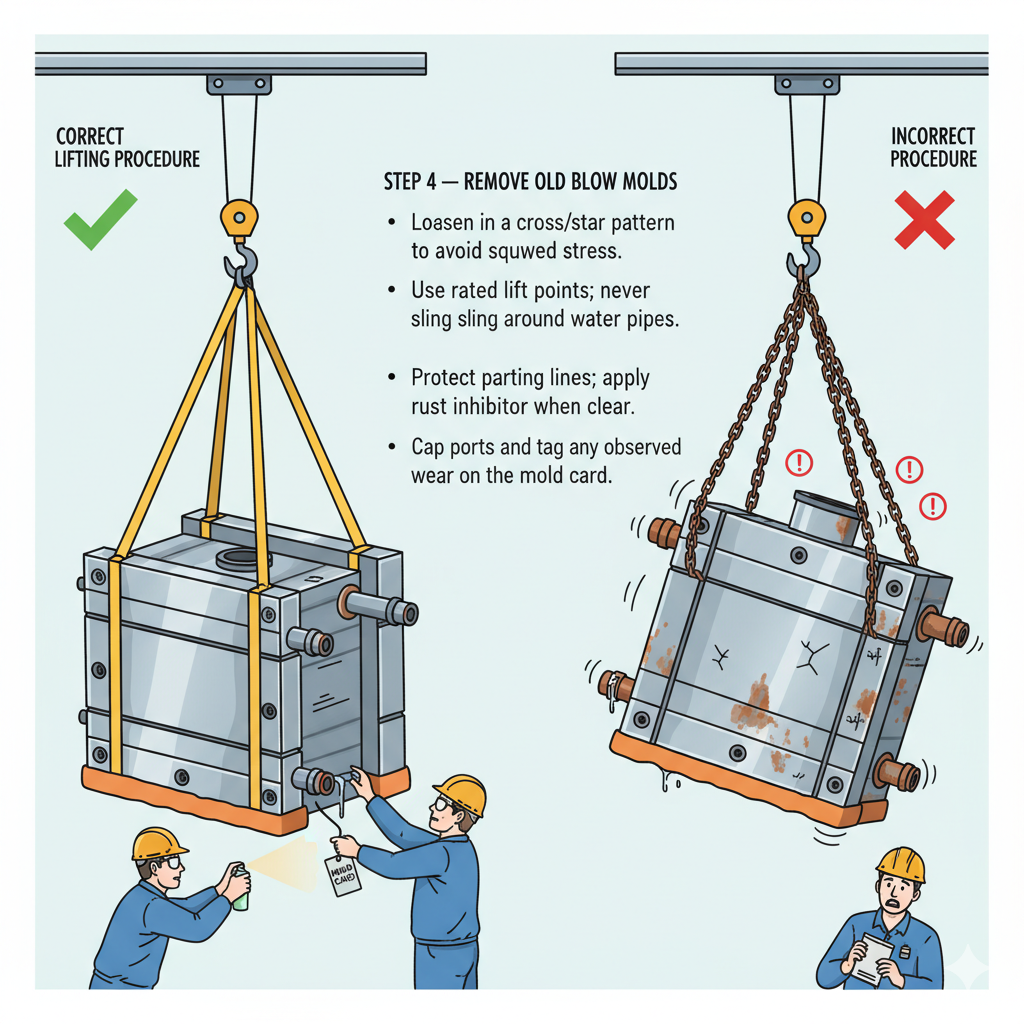
-
Remove old mold with controlled lifting.
Loosen in cross pattern, use rated lift points, return mold to cart, and tag visible wear.

Use rated lifting points and cross-pattern loosening to avoid distortion. -
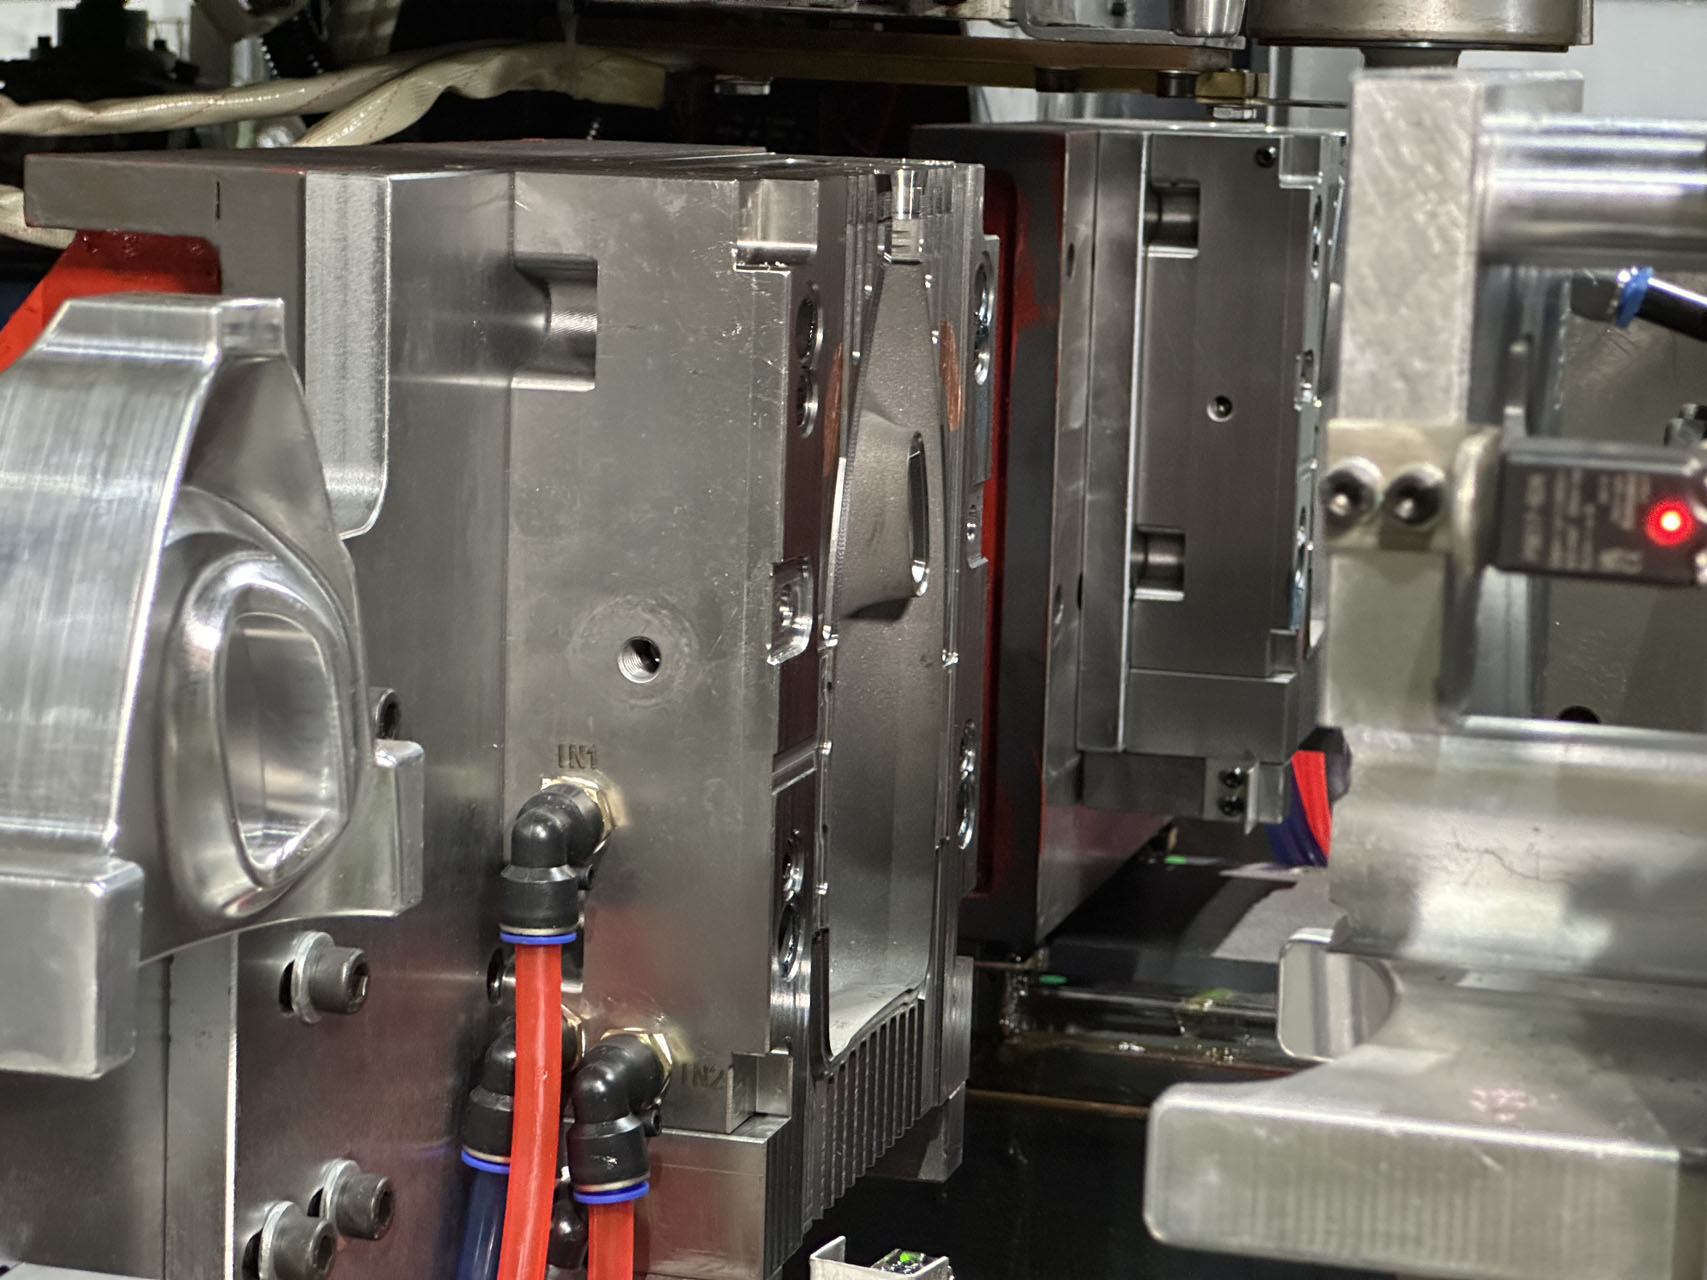
Clean and inspect machine interfaces.
Clean platens, locating surfaces, and guide areas; check interlocks and alignment points before installation.

Clean contact surfaces are essential for repeatable clamping. -
Install new mold and torque by sequence.
Seat mold, align locating features, tighten in cross pattern to your internal spec, and reconnect utilities by label.
-
Align and center.
Complete process-specific centering checks before production restart.
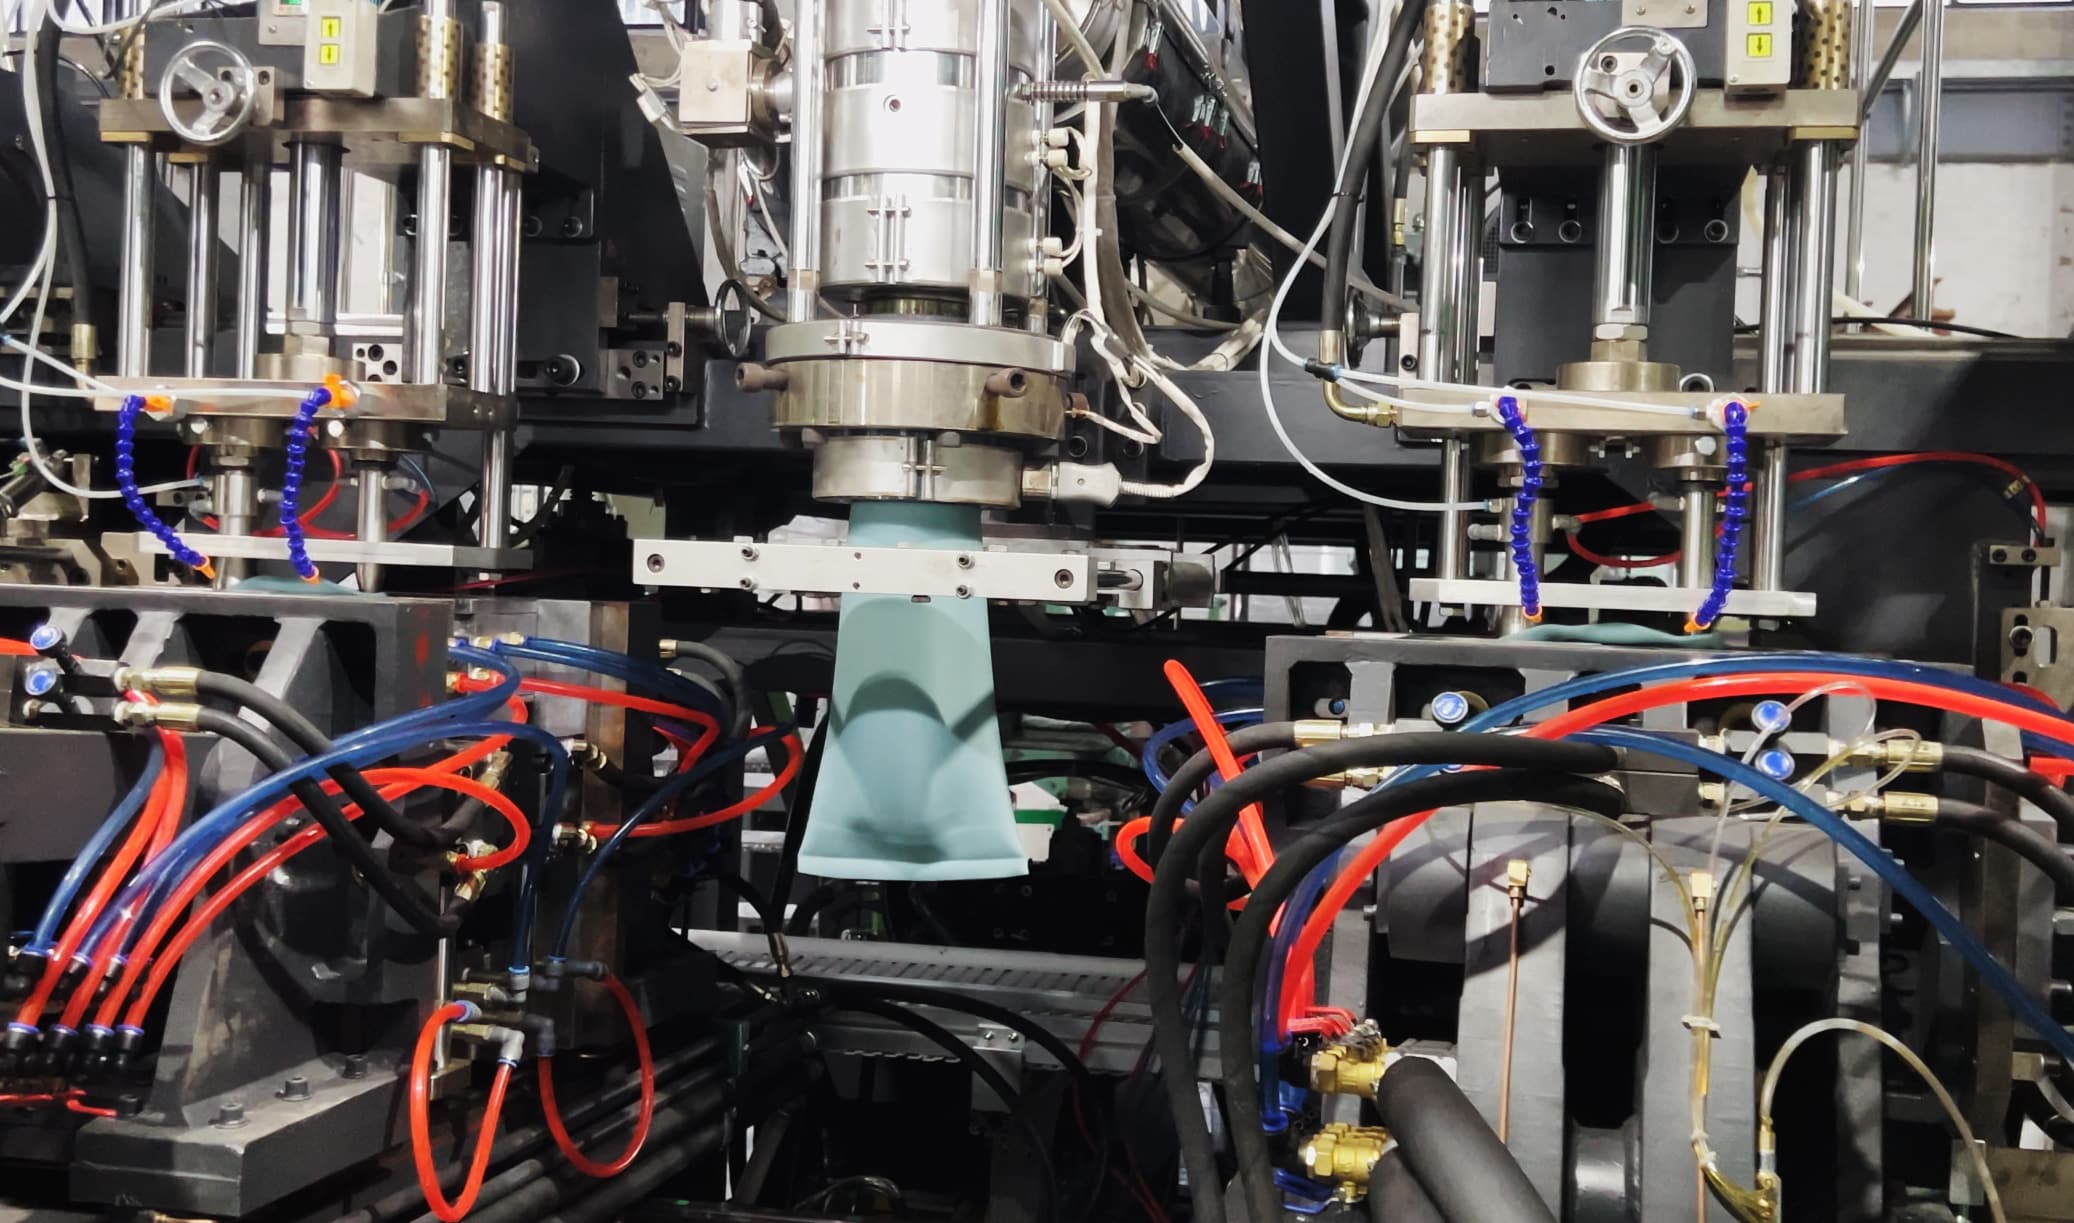
EBM alignment checkpoints
- Parison centering relative to cavity and pinch-off land.
- Uniform closing print and stable sealing contact.

EBM centering errors often appear first as uneven flash and wall imbalance. 
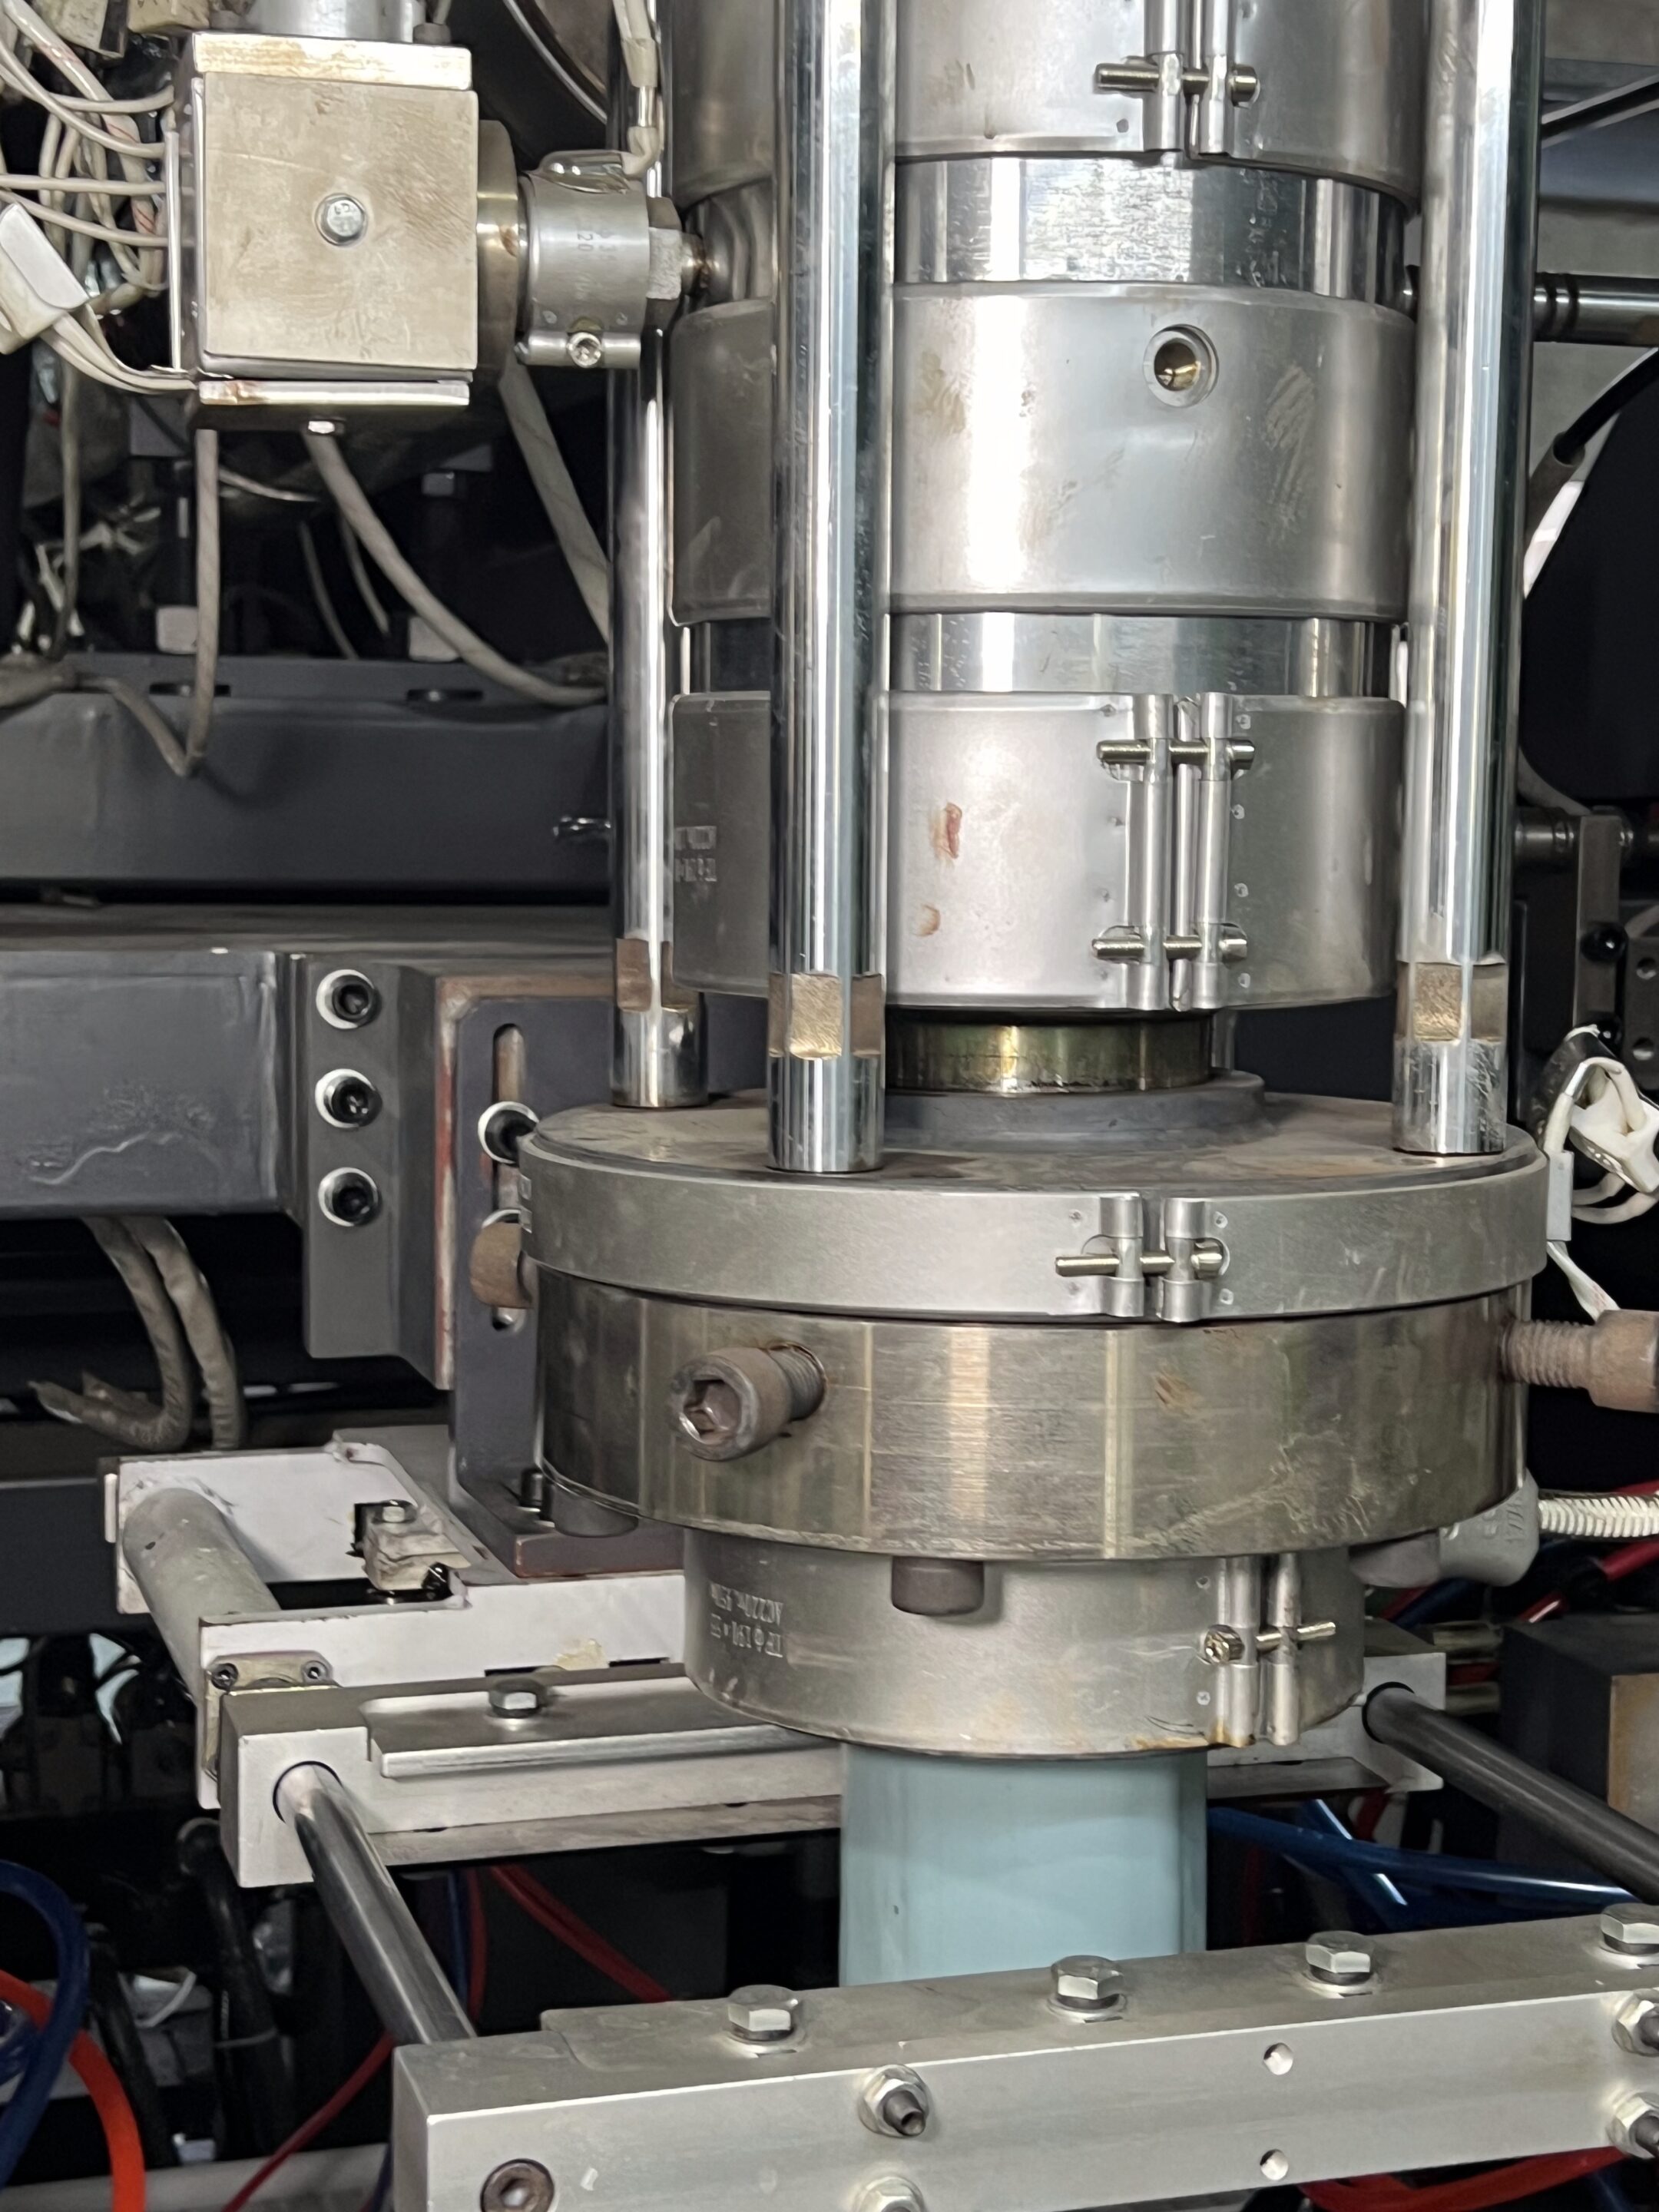
Die head alignment supports stable parison behavior during restart. SBM alignment checkpoints
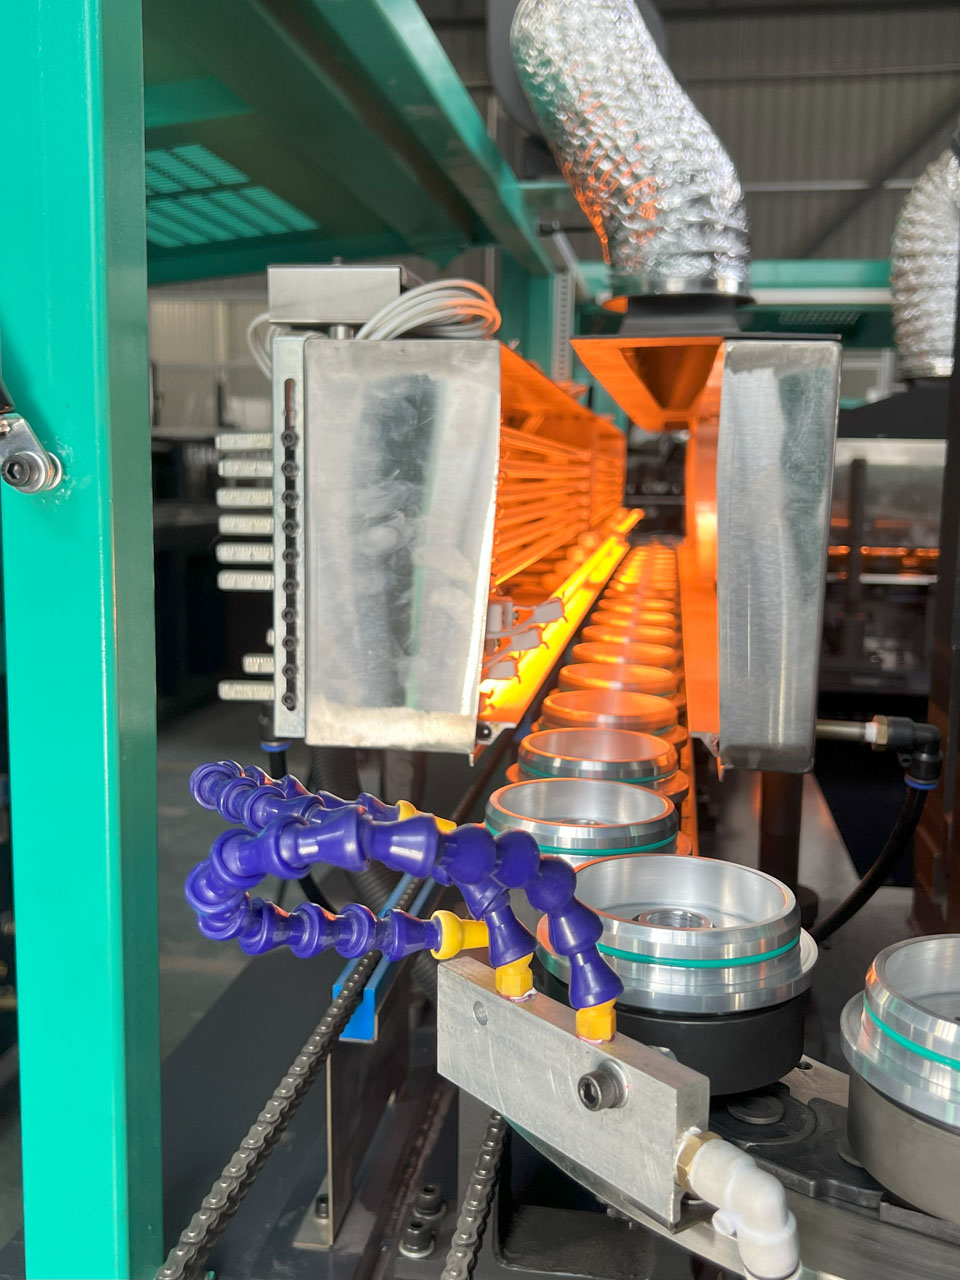
- Neck ring seating and sealing face condition.
- Stretch rod zero and centered forming path.
- Blow timing and oven profile confirmation.

SBM restart stability depends on both mold alignment and preform heat condition. -
Run dry cycle and verify safety interlocks.
Confirm guards, e-stops, and interlock logic before introducing material.
-
Run first-article release.
Use your internal sample plan (commonly 10-20 pieces) and approve only after all key checks pass.
Check Item Pass Requirement Weight Within product specification Critical dimensions Neck/fit and key dimensions pass Leak and functional test Pass per internal test standard Visual quality No abnormal flash, deformation, or surface defects -
Ramp up and hand over.
Increase speed in stages, record adjustments, save recipe version, and complete shift handover notes.
Error-Proofing Points to Reduce Time Loss
- One standard tightening sequence card at machine side.
- Fixed connector labels for all mold utilities.
- Mandatory pre-change huddle with role assignment.
- Post-change record for alignment notes and recurring faults.
Related Technical Pages
- Extrusion blow molding machine maintenance checklist
- How to operate an extrusion blow moulding machine
- Extrusion blow molding troubleshooting
- How to commission an extrusion blow molding machine to first good bottle in 1 day
If your team is evaluating line upgrades after SOP stabilization, this page on how to choose an extrusion blow molding machine can help with equipment fit.
Need a practical SOP review for your line and mold family? Request technical support.