
Extrusion Blow Molding Machine Operation SOP for Stable Daily Production
Many factories do not lose output because of one major failure. They lose output from repeated small operating deviations: unstable startup, inconsistent wall thickness, and weak shift handover. This page solves that problem with a practical SOP for day-to-day EBM operation.
This is an execution-focused guide for operators and plant managers, not a general machine overview. For broader process background, see our extrusion blow molding machine guide. If you are still evaluating equipment, read how to choose an extrusion blow molding machine.
Who This SOP Is For
- New and experienced extrusion blow molding machine operators
- Shift leaders responsible for process stability
- Plant managers building repeatable operating habits across teams
SOP Scope and Product Coverage
The same operating logic applies across many common EBM container projects. Product geometry and resin grade may change, but disciplined startup, parison control, in-process checks, and handover rules stay consistent.

Pre-Shift Safety and Readiness Checklist
Before pressing start, complete this check. Do not skip it.
| Checkpoint | What to Confirm |
|---|---|
| Safety guards and doors | All guards are in place and interlocks work correctly. |
| Emergency stop buttons | Operator knows locations and access is not blocked. |
| PPE | Required eye and hand protection is ready before operation. |
| Work area condition | No spills, clutter, or unnecessary tools near moving zones. |
| Job instruction and settings | Current production task and approved settings are confirmed. |
Standard EBM Operation SOP (7 Steps)
Step 1: Power On and Preheat
Start main power and allow barrel and die head zones to reach the approved process condition for the job. Do not rush this stage. A stable thermal condition supports a stable melt and cleaner startup.
Step 2: Load Resin and Verify Material Status
Load the specified resin into the hopper and confirm material identity for the current production order. If your project uses recycled content, maintain strict material segregation and handling discipline to reduce variation risks.

Step 3: Start Extrusion and Stabilize Melt
Start the extruder and monitor melt behavior until output is stable. The objective is consistency, not speed at any cost. Avoid aggressive changes that create oscillation during startup.
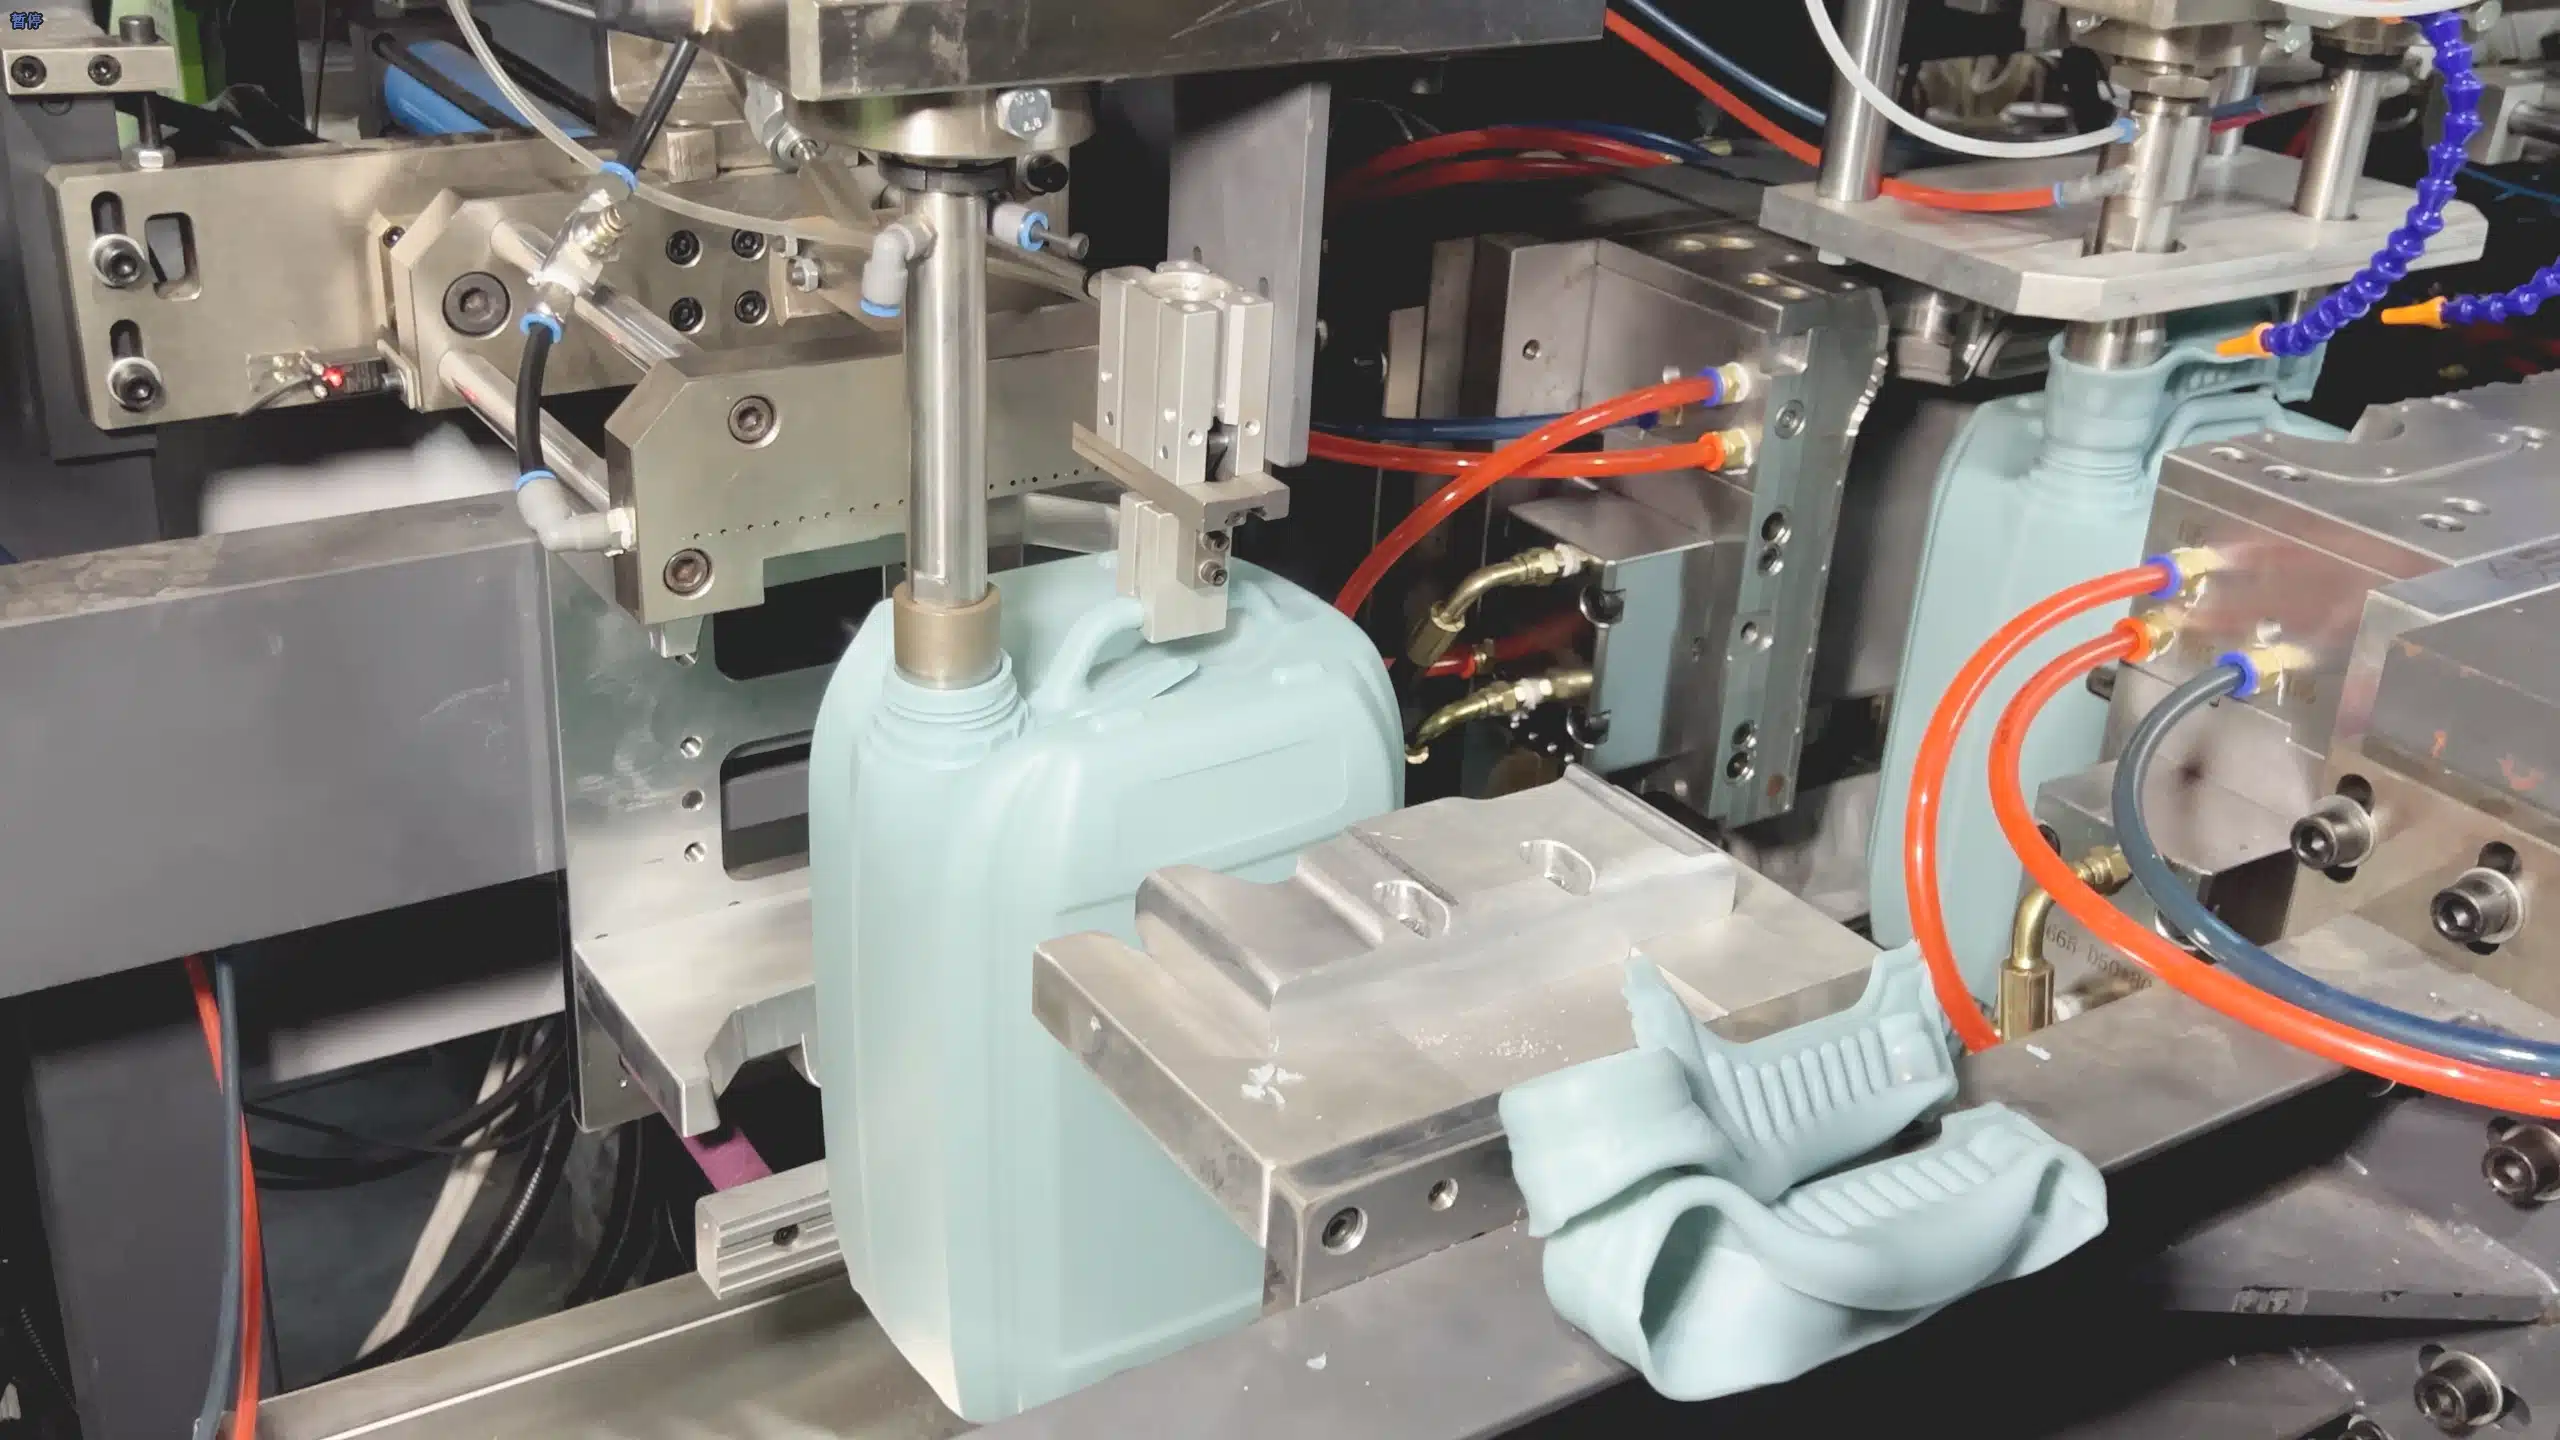
Step 4: Form and Control the Parison
Build a controlled parison and keep wall distribution within your process target window. Parison control is a key operator skill because it directly affects downstream bottle consistency and reject rate.

Step 5: Close Mold and Blow
Position parison, close mold, and execute blowing sequence according to the approved recipe. Confirm that clamping and blowing actions are stable and repeatable cycle to cycle.
Step 6: Cool, Eject, Trim Flash, and Inspect
Allow adequate cooling before ejection. Remove flash as required by your process, then run in-process checks for visual defects and consistency indicators before releasing batches.
Step 7: Record, Handover, and Controlled Shutdown
Log key process observations, defect patterns, and actions taken. During shift change, hand over process status clearly. For shutdown, follow plant rules to avoid material degradation and difficult restart conditions.
Operator Watchpoints for Stable Production Habits
- Keep changes small and deliberate instead of frequent large adjustments.
- Confirm first acceptable bottles after startup and after any adjustment.
- Escalate recurring defects early; do not normalize instability.
- Use one shift log format so management can compare trends across teams.
- Treat SOP compliance as a quality control tool, not paperwork.
Common Deviations and First Actions
Use this quick-response table for first-line handling. If a condition persists, escalate to engineering and maintenance according to your plant procedure.
| Deviation | First Check | Immediate Action |
|---|---|---|
| Wall thickness inconsistency | Parison behavior and recent setting changes | Return to last stable condition and verify parison control logic. |
| Frequent defects after mold change | Changeover execution and recipe confirmation | Recheck setup sequence and confirm current job parameters. |
| Contamination or appearance issues | Material handling and upstream cleanliness | Isolate suspect material flow and inspect melt path condition. |

Related Internal SOP Pages
- Commissioning SOP: first good bottle in 1 day
- Extrusion blow molding machine maintenance checklist
- Extrusion blow molding troubleshooting
- Blow mold replacement SOP for EBM/SBM lines
Need Help Standardizing Your EBM Operation?
If your team needs clearer startup routines, troubleshooting flow, or operator training support, we can help you build a practical SOP system around your production goals.