


¿Es eficiente el sistema de cambio de molde de su máquina de moldeo por soplado totalmente eléctrica?
Time is money on our production floor, and we know exactly how painful a four-hour changeover feels when a customer is screaming for parts. Long downtime kills profit margins. If you are evaluating a new all-electric machine, you must look beyond the cycle time and scrutinize the setup process.
Long downtime 1
To determine efficiency, you must inspect the physical machine layout for forklift-ready side gates and verify the presence of tool-less quick-change features. A truly efficient system uses multi-coupling plates for water and air, auto-tonnage calculation software, and magnetic or snap-lock tooling to reduce changeover times to under 30 minutes.
Let’s break down the specific features you should look for to ensure your team isn’t stuck wrestling with heavy steel for half a shift.
Does the machine design allow for side-loading of molds to reduce changeover time?
When we design our machine frames, we prioritize horizontal access because we have seen too many accidents involving overhead cranes. Relying on vertical loading is a safety risk and a major bottleneck.
accidents involving overhead cranes 2
The machine design is sufficiently convenient if it features removable or wide-opening side safety gates that permit direct forklift access. This eliminates the need for overhead cranes, prevents potential damage to the delicate parison head during lifting, and allows you to stage the next mold while the current one is still running.

The "Forklift-Ready" Gate Design
Traditional blow molding machines often force you to load molds from the top. In our experience, this is dangerous. You have to swing a heavy steel mold on a crane hook inches away from the sensitive extrusion die head. One slip, and you have damaged the most expensive part of the machine.
máquinas de moldeo por soplado 3
You should look for a "Forklift-Ready" design. Inspect the safety enclosure. The side gates must open wide enough—or be completely removable—to allow a standard forklift to drive the mold directly between the platens. This side-loading capability transforms your workflow.
Preventing Collision with the Die Head
Beyond the gates, look at the extruder platform. Does it include a mechanical "Head Lift" or "Swing Out" feature?
In our testing, we found that creating vertical clearance is critical. A Head Lift system physically raises the die head away from the mold area. This simple gap prevents the most common setup accident: swinging the mold into the die pins.
Telescopic Rail Access
Efficiency isn’t just about the mold; it is about the peripherals. Check the deflashing station. We recommend machines where the post-mold cooling and deflashing carriage sits on telescopic slide rails.
This allows your technicians to pull the entire assembly completely out of the machine frame. They can change trimming masks comfortably outside the machine rather than crawling inside the frame. It is safer, faster, and reduces operator fatigue.
Comparison: Top-Loading vs. Side-Loading
| Característica | Top-Loading (Traditional) | Side-Loading (Forklift-Ready) |
|---|---|---|
| Primary Equipment | Overhead Crane | Forklift |
| Risk Factor | High (Parison head collision) | Low (Horizontal entry) |
| Preparation | Serial (Must wait for crane) | Parallel (Stage mold next to machine) |
| Clearance | Requires high factory ceilings | Standard ceiling height |
| Tiempo de preparación | Slow (Precision crane work) | Fast (Direct placement) |
How accessible are the water and air connections for the mold cooling channels?
We used to struggle with the "spaghetti" of hoses that cluttered the mold area, causing confusion and leaks during every setup. That chaos is unnecessary with modern technology.
Efficient accessibility requires replacing individual hose barbs with centralized multi-coupling plates that connect all water and air lines in a single lever action. This prevents operator confusion, eliminates leaks during disconnection, and drastically reduces the time spent tightening dozens of individual hose clamps manually.

The Problem with Hose Barbs
If the machine you are quoting uses standard hose barbs, you are buying a headache. Every time you change a mold, your technician has to:
- Unscrew multiple hose clamps.
- Pry off stuck hoses.
- Deal with water spilling into the machine base.
- Reconnect them one by one, hoping they don’t mix up "Water In" with "Air Out."
The Solution: Single-Motion Multi-Couplers
We strongly advise looking for Single-Motion Multi-Couplers (like Stäubli or equivalent systems). This is a centralized plate mounted on the platen.
- How it works: All water circuits and air lines are routed to one manifold block. You align the block and pull a single lever.
- El resultado: 10+ connections are made instantly. There is no risk of crossing lines because the plate only fits one way.
Cleanliness and Maintenance
Accessibility also means keeping the machine dry. Multi-couplers usually feature "flat-face" valves that prevent dripping. Water spills are not just messy; they rust your linear guides and platens. A dry machine is a long-lasting machine.
When inspecting the machine design, also check if the manifold is easy to reach. It should be at waist height, not buried behind the toggle system or high up where a ladder is required.
Connection Efficiency Checklist
| Connection Type | Tiempo de preparación | Risk of Error | Leak Potential |
|---|---|---|---|
| Standard Hose Clamps | 20–30 minutos | High (Crossed lines) | High (Drips common) |
| Individual Quick Connects | 10–15 minutos | Medio | Bajo |
| Multi-Coupling Plate | < 1 Minute | Zero (Keyed fit) | Zero (Dry break) |
What specific tools are required to operate the clamping system during a changeover?
In our assembly bay, we have moved away from heavy wrenches and sledgehammers. If your operators need a toolbox full of spanners to change a mold, the machine technology is outdated.
You should require very few hand tools; instead, look for a portable Manual Pulse Generator (MPG) pendant for precision platen control and a "Snap-Lock" system for blow pins. The machine must also feature an "Auto-Mold Setup" mode that calculates lock-over torque automatically, eliminating manual toggle adjustments.

The "MPG" Hand-Wheel Advantage
On older hydraulic machines, setting the mold usually involved two people: one staring at the mold and shouting, and another pressing buttons on the panel. This is dangerous and imprecise.
Electric machines should feature a portable Manual Pulse Generator (MPG) wired pendant. This looks like a remote control with a hand-wheel.
- Precision: Your setter can stand inside the safety gate (in setup mode) and move the platen by sub-millimeter increments.
- Safety: They have a clear line of sight to the guide pins.
- Speed: It is far faster to spin a wheel than to tap "Close… Stop… Close… Stop" on a touch screen.
Auto-Tonnage "Kiss" Detection
Do not buy a machine that requires you to manually adjust the tie-bar nuts to set the clamping force. That is 1990s technology.
Modern servo-driven machines must have "Auto-Mold Setup". The servo drives slowly close the platens until they "kiss" the mold surface. The system detects the stack height and automatically calculates the required lock-over torque. The machine adjusts its own daylight opening and tonnage. This turns a 20-minute dangerous adjustment into a 2-minute automatic sequence.
Tool-Less Blow Pin Tooling
The blow pin is often the most annoying part of the changeover. Screw-in blow pins strip threads over time and seize up.
Scrutinize the assembly for "Snap-Lock" tooling. These are twist-lock or bayonet-style collars. You push the pin in, twist 90 degrees, and it locks. No wrenches, no stripped threads, and consistent height every single time.
Universal "T-Slot" Geometry
Finally, check the platens. Ensure they utilize standardized T-Slots rather than fixed grid holes.
- Grid Holes: Force you to mount the mold exactly where the holes are. If your mold is non-standard, you need an expensive adapter plate.
- T-Slots: Allow for infinite vertical positioning. You can slide the clamps to exactly where the mold backplate is strong.
Tooling Evolution Table
| Característica | Old School Method | Modern Efficient Method |
|---|---|---|
| Platen Movement | HMI Buttons & Spotter | MPG Hand-Wheel Remote |
| Fuerza de sujeción | Manual Tie-Bar Nut Adjustment | Auto-Tonnage Detection |
| Blow Pin Change | Threaded Screw-In (Wrench) | Snap-Lock / Bayonet (Hand) |
| Mold Mounting | Fixed Grid Holes | Universal T-Slots |
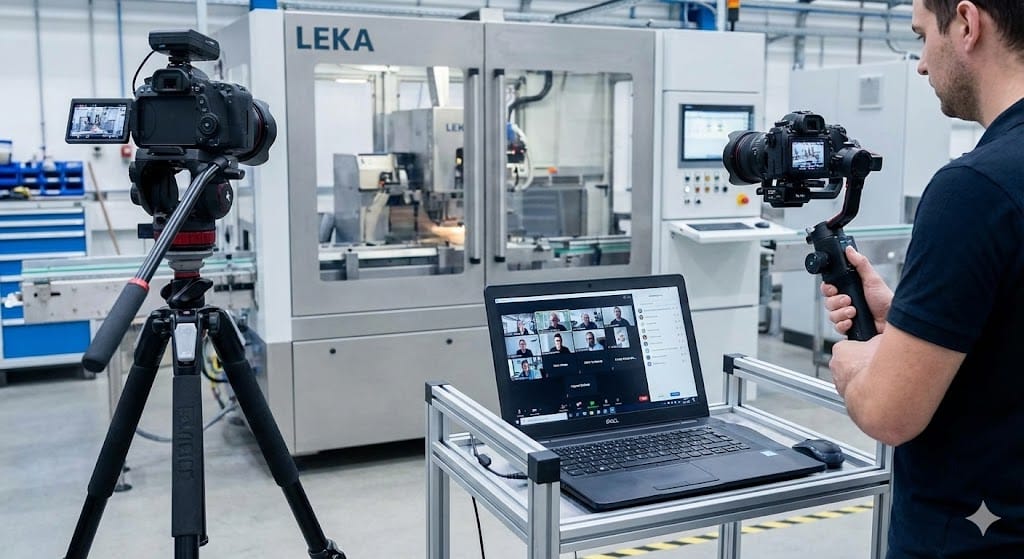
Should I ask for a video demonstration of a complete mold change cycle to verify the speed?
We often tell clients that a specification sheet is just a piece of paper; reality happens on the shop floor. A promised "20-minute changeover" is meaningless if it doesn’t include the time taken to heat up or purge material.
Manual Pulse Generator 4
Yes, you must demand an unedited video showing the timeline from the "Last Good Part" of the old run to the "First Good Part" of the new run. This reveals hidden downtime factors like purging, heating delays, and debugging, rather than just showing the mechanical bolting process.

Single-Motion Multi-Couplers 5
The "Last-to-First" Standard
Do not accept a video that only shows a technician bolting in a cold mold. That is cheating. You need to ask for the "Last-to-First" video.
- Last Good Part: The clock starts when the previous production run stops.
- First Good Part: The clock stops only when the machine produces a saleable bottle from the new mold.
This video exposes the real bottlenecks. It will show you if the extruder takes 45 minutes to stabilize the new material temperature, or if the parison control software takes ten shots to calibrate the weight.
extrusion die head 6
Checking Mold Protection Sensitivity
While watching the video (or a live demo), ask to see the "Torque Limit" settings for the mold closing stroke.
A good electric system uses high-resolution motor feedback. It should be sensitive enough to detect an obstruction—like a forgotten wrench or a plastic jam—and stop instantly. Old hydraulic pressure switches are often too slow to prevent mold damage. In the video, watch how confident the machine is during the first closing stroke. It should be smooth, not hesitant.
side safety gates 7
Validating the Process
Use this video to verify the ergonomics we discussed earlier.
- Does the operator look stressed?
- Are they running back and forth to find tools?
- Does the "Auto-Setup" actually work, or do they manually tweak it afterwards?
safety risk 8
If the manufacturer hesitates to provide this video, it is a red flag that their "quick changeover" is only theoretical.
reduce changeover times 9
Conclusión
To ensure efficiency, demand side-loading capability, multi-coupling connections, MPG remote controls, and auto-tonnage software. Verify these claims with a "Last-to-First" video demonstration to guarantee your investment reduces downtime and boosts profitability.a
magnetic or snap-lock tooling 10
Notas al pie
- Government resource explaining the impact of downtime on manufacturing efficiency. ↩︎
- Official OSHA regulations highlighting hazards associated with overhead crane operations. ↩︎
- Industry association representing equipment manufacturers and standards. ↩︎
- Explanation of the electronic hand-wheel device used for precision machine control. ↩︎
- Manufacturer documentation for the specific quick-connect technology mentioned. ↩︎
- Leading academic institution for plastics engineering research and education. ↩︎
- International standard (ISO 14120) defining requirements for machine safety guards. ↩︎
- Government safety guidance specifically for blow molding machinery hazards. ↩︎
- Definition of the SMED methodology for reducing machine setup duration. ↩︎
- Manufacturer specifications for magnetic clamping systems used in quick mold changes. ↩︎


0 Comentarios